
How to Inspect and Maintain Roof Drip Edge Flashing: A Homeowner’s Step-by-Step Checklist
Add QRS as a preferred source on Google (opens in a new tab)
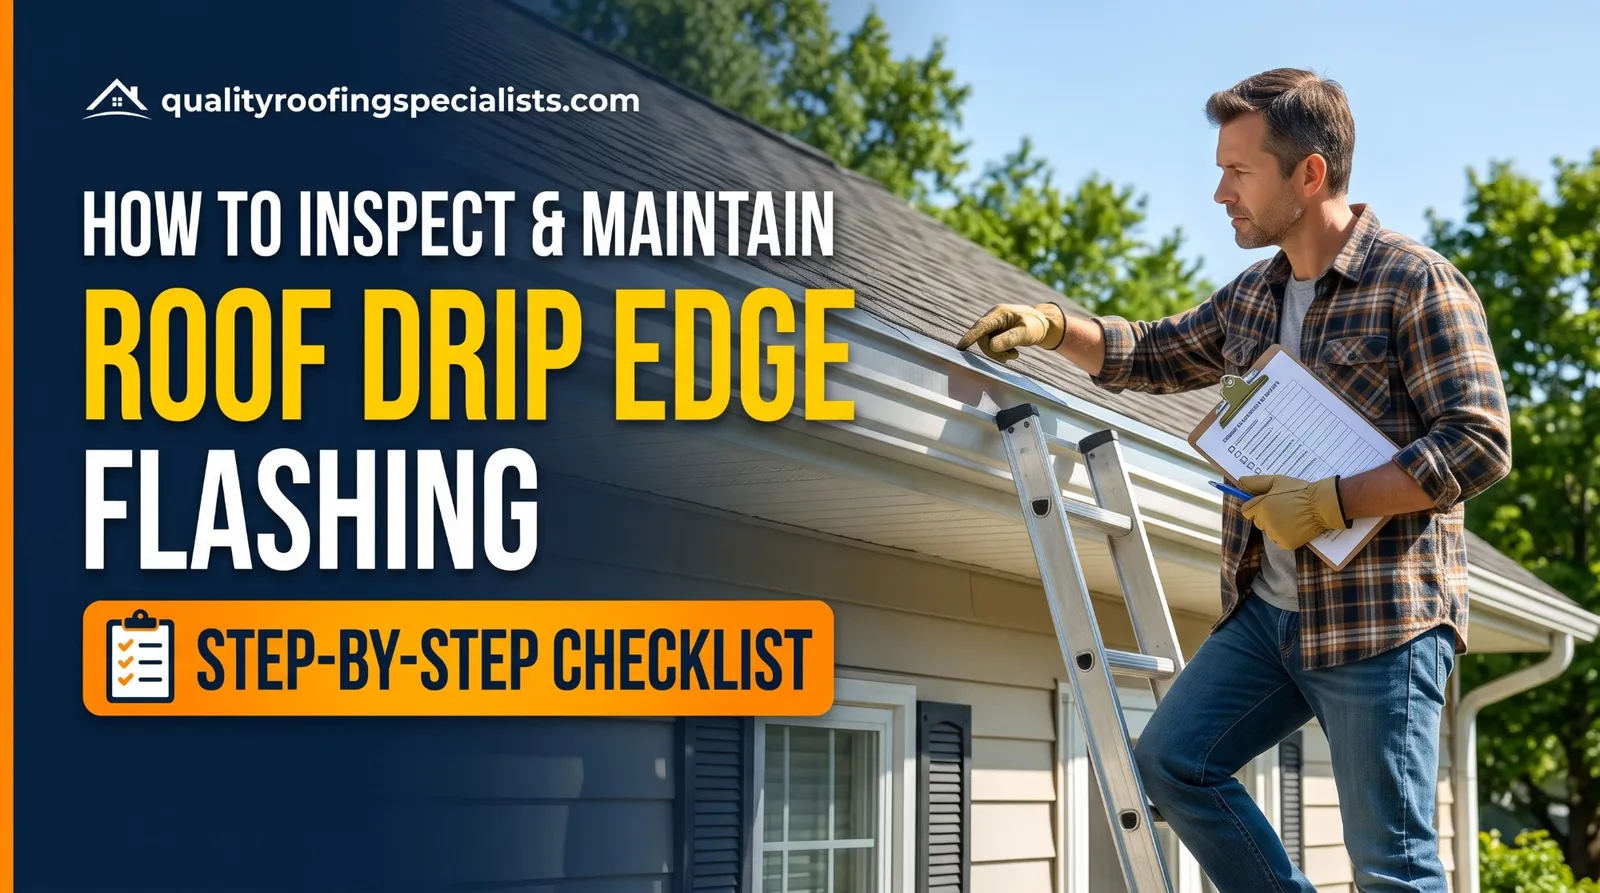
Drip edge flashing is a thin metal strip along the edges of your roof, and when it fails, water gets behind your gutters and into the wood that holds your roof up. Most homeowners never look at it until they see peeling fascia paint, a sagging gutter or a stain on the eave.
This guide shows you what drip edge does, how to inspect it from the ground and a ladder in about 20 minutes, what simple maintenance keeps it working, when a repair or a replacement makes more sense, and what we check when we look at a roof edge ourselves.
What Is Drip Edge Flashing?
Drip edge is an L- or T-shaped metal flashing installed along the outer edges of the roof deck. One leg lies flat on the roof sheathing under the roofing material. The other leg bends down over the edge and kicks slightly outward, so water drops clear of the wood below.
It runs along two edges of a sloped roof:
- Eaves: the lower, horizontal edges where water runs off, usually above the gutters.
- Rakes: the sloped side edges at the ends of a gable.
You will usually see one of three common profiles:
| Profile | Shape | Where it’s used |
|---|---|---|
| Type C (L-style) | A simple 90-degree bend | The basic profile, common on older or budget installs |
| Type D (T-style) | An extended face with an outward kick | The most common modern profile; the best at throwing water clear of the fascia |
| Type F (gutter apron) | A longer drop leg | Re-roofs over existing edges, or where water needs to reach into the gutter |
How Drip Edge Prevents Leaks and Rot
Water does not simply fall off a roof edge. Surface tension makes it cling to the underside of the shingles and curl back toward the house. Without drip edge, that water soaks the edge of the roof deck, the fascia board and the top of the gutter.
A properly installed drip edge does four jobs:
- It breaks the water’s path. The outward kick makes water drip into the gutter instead of wicking back onto wood.
- It seals the gap. It covers the opening between the roof deck and the fascia, which also keeps out insects, rodents and birds.
- It resists wind-driven rain. On the rakes, it blocks rain that blows sideways under the shingle edge.
- It supports the shingle overhang. It gives the edge shingles a straight, rigid base so they don’t droop or crack.
The order matters. At the eaves, the drip edge goes on first and the underlayment laps over it. At the rakes, the underlayment goes on first and the drip edge goes over it. Reversed laps channel water under the metal instead of over it, and they are one of the most common hidden failures we find.
Materials and What California Code Requires
Common materials
| Material | Best for | Watch out for |
|---|---|---|
| Galvanized steel | Most shingle roofs; stiff and affordable | Rusts once the coating is scratched; avoid bare galvanized near the coast |
| Aluminum (pre-painted) | Coastal homes; matching the trim color | Dents more easily; can corrode where it touches copper or some treated lumber |
| Copper | High-end and historic homes | The highest cost; never mixed with aluminum or galvanized parts |
Near the ocean, salt air is hard on galvanized steel, so aluminum or a heavier coated metal is the usual choice. Metals that touch each other can corrode (galvanic corrosion), so the fasteners and the flashings next to the drip edge should match it.
What the code requires
California adopts these rules through the California Residential Code (CRC) and the California Building Code (CBC). City re-roof guides across the state cite CRC R905.2.8.5 and CBC 1507.2.8.3, including guides based on the 2025 codes (Sunnyvale re-roof guide). For asphalt shingle roofs:
- Drip edge is required at both eaves and rakes (ICC, significant changes to the 2012 IRC).
- Pieces next to each other overlap at least 2 inches.
- The metal extends at least 1/4 inch below the sheathing and at least 2 inches back onto the deck (East Palo Alto re-roof requirements).
- Fasteners are no more than 12 inches apart along the edge.
- The underlayment goes over the drip edge at the eaves and under it at the rakes.
Tile and low-slope roofs follow their own code sections and the manufacturer’s installation instructions, which usually call for edge metal as well. A re-roof in the City of Los Angeles and most cities around it needs a permit, and the inspector looks at the edge. The rules vary by city; our roofing permit guide covers LADBS and the cities around our offices.
Your Step-by-Step Drip Edge Inspection Checklist
Do this twice a year, ideally in early fall before the rainy season and again in spring. Plan on about 20 minutes for a typical single-story home.
Safety first. Inspect from the ground and from a ladder only. Don’t walk on the roof, and never step on a tile roof, which cracks easily. Use a stable ladder on level ground, keep three points of contact, and have someone hold the base. If your home is two stories or the ladder feels unsafe, skip Step 2 and call a roofer.
Step 1: Walk the perimeter from the ground
Use binoculars or your phone’s zoom, and look along every eave and rake.
- Is there drip edge on every edge? Look for a thin metal strip between the shingles and the fascia.
- Does the edge run in a straight line, with no waves, sags or bent sections?
- Are there rust streaks or stains running down the fascia or siding?
- Is paint peeling or bubbling on the fascia or soffit?
- Are the gutters pulling away from the house or tilting?
- Are there gaps where birds, rodents or bees could get in at the roof edge?
Step 2: Check the edges up close from a ladder
- Press the fascia board with a screwdriver. Soft or crumbling wood means rot.
- Look at every joint where two pieces meet. Gaps or separated laps let water through.
- Check for loose, missing or backed-out nails along the metal.
- Look for dents, corrosion or holes in the metal.
- Make sure the drip edge sits over the back of the gutter, so water lands inside it.
- Check the corners where eave and rake pieces meet. Badly cut corners are a common leak point.
Step 3: Look for water clues inside
- In the attic, check the underside of the roof deck along the edges for dark stains or damp wood.
- Look for daylight showing through at the edges of the roof.
- Check the ceilings near exterior walls for water spots.
Step 4: Watch it in the rain
- During a steady rain, watch whether water drips cleanly into the gutters.
- Note any spot where water runs behind the gutter or down the fascia.
Take photos of anything you flag. They help a roofer understand the problem before the visit and give you a baseline for your next inspection.
Simple Maintenance You Can Do
Drip edge needs very little care, but a few habits help it last and catch problems early:
- Keep the gutters clear. Clogged gutters back water up against the drip edge and fascia. Clean them at least once a year before the rainy season, and more often under trees.
- Check the gutter hangers. A sagging gutter pulls away from the drip edge, so the water misses it.
- Trim overhanging branches. Branches scrape the metal, drop debris and give rodents a path to the roof edge.
- Touch up small scratches. On painted aluminum or galvanized metal, a dab of exterior metal primer and matching paint keeps rust from starting.
- Have a loose nail re-seated. A roofer can replace a backed-out nail with a matching roofing nail. Caulk over a nail head is not a long-term fix.
- Don’t hang things from the edge. Light clips, satellite brackets and ladders resting on the metal bend it out of shape. Lean ladders below the edge or use a ladder stand-off.
If you would rather have someone else keep an eye on it, a roof maintenance plan includes scheduled visits with a photo report each time.
Repair or Replace?
Most drip edge problems are local and can be repaired. Replacement makes sense when the damage is widespread, the drip edge is missing, or the roof is being replaced anyway.
| What you found | Usually the right call |
|---|---|
| One or two bent or dented sections | Repair: replace those sections and re-lap the joints |
| A few loose nails or a separated joint | Repair: re-fasten and re-lap |
| Light surface rust in one area | Repair: clean, prime and paint, or replace that section |
| Rust or corrosion along most of the roof edge | Replace the drip edge |
| Drip edge missing on some or all edges | Install new drip edge, which may mean lifting the edge shingles |
| Rotted fascia or roof deck along the edge | Replace the damaged wood first, then add new drip edge |
| The roof is near the end of its life or being replaced | Replace it with the new roof: it’s required on shingle re-roofs and is least work at that point |
One caution: adding drip edge to an existing roof means carefully lifting the first course of shingles and slipping the metal underneath. Older, brittle shingles can crack while this is done, so a roofer should judge whether your shingles can take it.
Drip edge costs least when it goes on with a new roof; fitting it to an existing roof is more work per foot, and a two-story home, a steep roof or rot behind the gutter adds to it. When you compare quotes, check that each one states the linear footage, the metal and its gauge, whether the old metal comes off, and how rotted wood will be handled if it’s found.
When to Call a Roofer
A homeowner checklist catches the obvious problems, but many drip edge failures are hidden under the first row of shingles or behind the gutter. Call a roofer if you found rot, an active leak, missing drip edge, or anything you couldn’t safely see from a ladder. If water is coming in right now, see emergency roof repair.
Our free roof evaluation for homes is led by a roofer, not a salesperson:
- Drone footage of the areas of concern, including second-story and steep edges, without anyone walking on fragile tile or aging shingles (RoofScan 360®).
- Photos of what we find, so you see what the roofer saw, explained in plain English.
- One clear next step: repair, monitor, maintain or replace.
- A written scope and price before any work starts.
Frequently Asked Questions
Is drip edge flashing required in California?
Yes, on asphalt shingle roofs. The California Residential Code (R905.2.8.5) requires drip edge at both the eaves and the rakes, on re-roofs as well as new construction.
Can drip edge be added to an existing roof?
Yes. A roofer lifts the first course of shingles, slips the metal underneath and re-fastens it. It is more work per foot than installing it during a re-roof, and brittle older shingles may crack while it’s done.
How long does drip edge last?
It depends on the metal and where you live: aluminum and copper generally outlast galvanized steel, and coastal salt air, scratches and contact with other metals shorten the life of any of them. A twice-a-year check tells you how yours is doing.
Does drip edge go over or under the gutter?
The drip edge goes on the roof, and the gutter hangs below it. The drip edge’s lower edge should sit over the back of the gutter so water drops inside.
Do tile and flat roofs need drip edge?
The code requirement above is for asphalt shingle roofs. Tile and low-slope roofs use the edge metal their manufacturers’ installation instructions call for, and it does the same job.
How often should I inspect my drip edge?
Twice a year, in early fall before the rainy season and again in spring, and after any major storm.
Do you check the drip edge during a roof evaluation?
Yes. A roofer looks at the roof edges along with the rest of the roof, with drone footage of the areas of concern and photos of what we find, and you get a written scope and price before any work. The evaluation is free for homes.
Get a Free Roof Evaluation
If your checklist turned up rust, gaps, rot or missing drip edge, start with a free roof evaluation. A roofer shows you what’s going on, and you get a written scope and price before any work. Our installs carry a 10-year workmanship warranty (call for details). Call (310) 340-1643. Quality Roofing Specialists, CSLB #1061942.
Part of our asphalt shingle roof guide.
