
Roof Repair: 5 Safe Ways to Stop a Roof Leak Until a Roofer Arrives
Add QRS as a preferred source on Google (opens in a new tab)
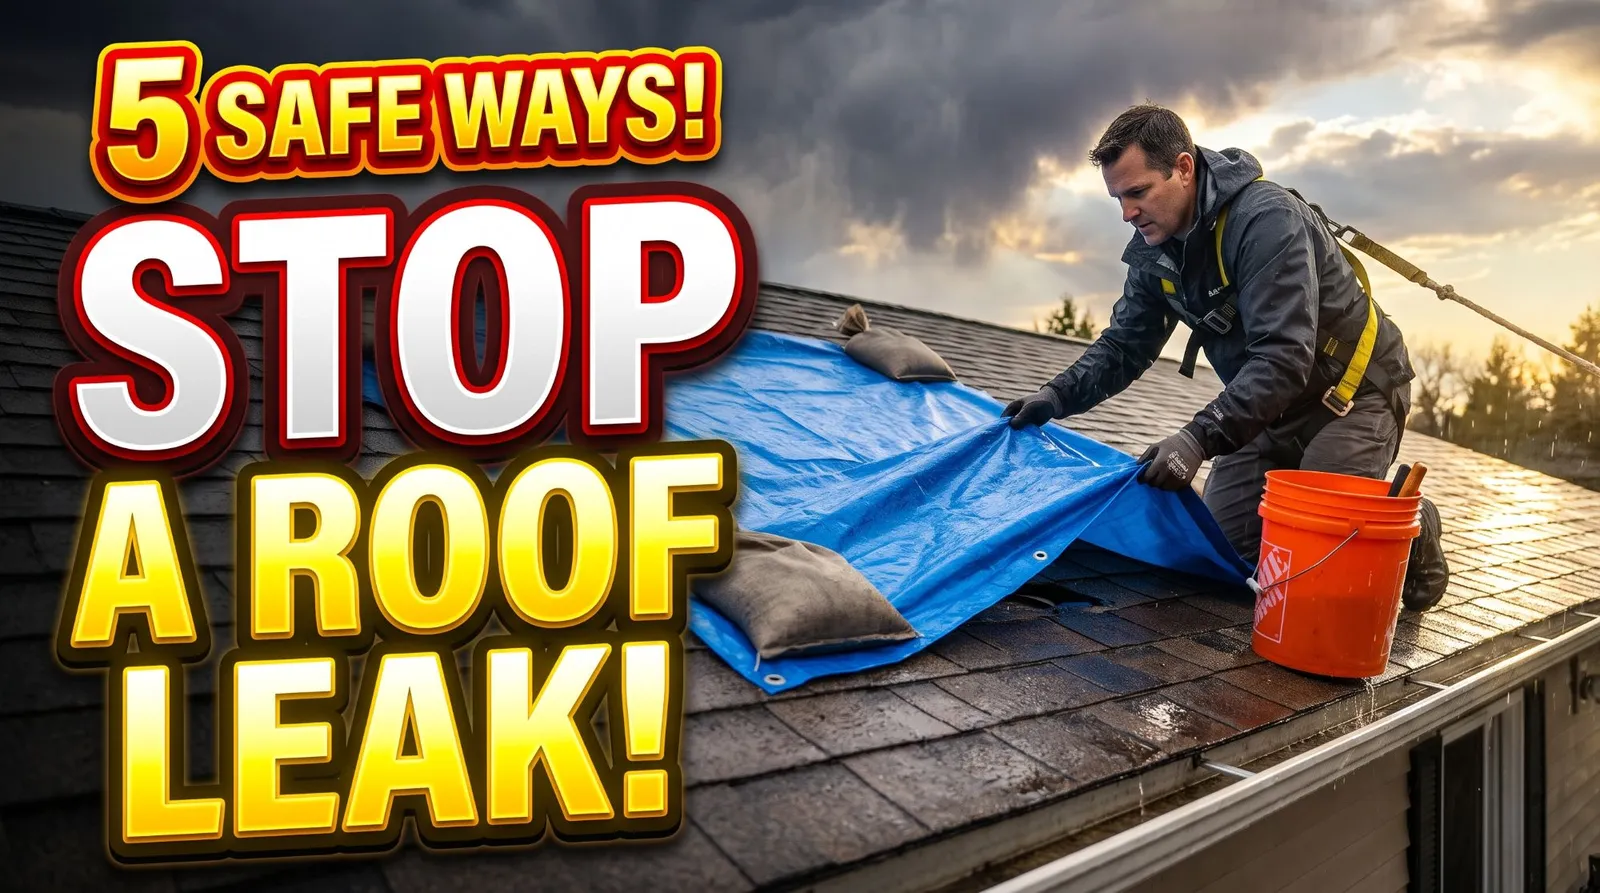
If water is coming through your ceiling right now, this is how we tell homeowners to stop a roof leak safely until a roofer arrives. A temporary roof repair buys you days or weeks of dry ceilings, not a fixed roof. The goal is simple: keep water out of the house and limit the damage until a licensed roofer can find the source and repair it properly.
The first storm of the rainy season is when many homeowners discover worn flashing, cracked pipe boots or a missing shingle. Below are the five safe ways to stop the water, ordered from least to most risk to you.
Quick Answer: How to Fix a Leaking Roof Temporarily
- Contain the leak from inside. Catch the water, drain a bulging ceiling and protect the attic. No ladder needed, and it works in any weather.
- Tarp the damaged area. The best stopgap for large, storm-related or hard-to-find leaks.
- Patch with roof cement. For small holes, cracks and lifted shingle edges.
- Seal with flashing tape. For split seams, cracked flashing and small punctures.
- Caulk gaps with roof sealant. For pinhole leaks around vents, pipe boots and chimneys.
Options 2 through 5 put you on a roof. If it is raining, windy, dark, steep or a tile or slate roof, stop at option 1 and call a roofer. The section on when not to go on the roof explains why.
How Temporary Roofing Works
Temporary roofing works in one of two ways: it covers the damaged area with a new waterproof layer, or it seals one specific gap. A tarp covers. Roof cement, flashing tape and sealant seal. None of them repairs what is underneath, such as wet decking, soaked insulation or torn underlayment.
A roof sheds water by overlapping layers, each one lapping over the one below so water runs downhill. A good temporary fix follows the same rule: it starts above the damage and laps down over it, so water flows over the patch instead of under it.
One more thing to know before you climb anything: the stain on your ceiling is often not directly under the hole. Water can run along the roof deck or a rafter before it drips. That is why we trace a leak from the attic before patching outside. Our guide to finding the source of a roof leak explains how.
| Fix | Best for | Surface | Temperature window | Who should do it |
|---|---|---|---|---|
| 1. Contain from inside | Any active leak | Any | Any | Anyone |
| 2. Tarp | Storm damage, missing shingles, unknown leak source | Wet is fine; calm wind needed | Any | A roofer, ideally |
| 3. Roof cement | Small holes, cracks, lifted shingle edges | Wet only with a wet/dry formula | 20–120°F for one wet-patch product (Henry 208) | Confident DIYer, low-slope roof |
| 4. Flashing tape | Split seams, cracked flashing, punctures | Clean and dry | 40–150°F ambient (EternaBond RoofSeal) | Confident DIYer, low-slope roof |
| 5. Roof sealant | Gaps at vents, pipe boots, chimney flashing, nail heads | Dry | Above 40°F (Loctite PL) | Confident DIYer, low-slope roof |
Treat every one of these as a stopgap. FEMA’s own Operation Blue Roof sheeting is designed to last 30 days, and the agency recommends arranging permanent repairs within that window (FEMA).
When Not to Go on the Roof
No patch is worth a fall. More than 500,000 people are treated for ladder-related falls each year in the U.S., and more than 300 die, according to the CDC’s National Institute for Occupational Safety and Health.
Stay on the ground, and skip straight to Way 1, if any of these are true:
- It is raining, or the roof is still wet. Wet shingles, moss, leaves and dust are slick. Tape and most sealants will not bond to a wet surface anyway.
- It is windy, dark or there is lightning nearby. A tarp in a gust acts like a sail, and wind can push a ladder off the gutter line.
- The roof is steeper than 4 in 12. That means it rises more than 4 inches for every 12 inches across. OSHA classifies these as steep roofs and requires professional crews to use guardrails, safety nets or a personal fall arrest system on them (OSHA). If you cannot walk upright on it comfortably, it is steep.
- The roof is clay tile, concrete tile, slate or wood shake. Tile and slate crack underfoot, which creates new leaks. Even FEMA’s Operation Blue Roof program excludes clay and slate tile roofs (FEMA).
- The house is two stories or more, or your ladder will not reach at least 3 feet above the roof edge.
- You are alone. Someone should hold the ladder and be able to call for help.
- You see sagging, soft spots, fallen branches or a downed power line. A sagging roof deck may not hold your weight. Stay well away from any downed line and call your utility.
If You Do Climb: Four Ladder Rules From OSHA
These rules are written for workers, but they are the best benchmark for homeowners too (OSHA 1926.1053).
- Set the base about 1 foot out from the wall for every 4 feet of height to the roof edge.
- Extend the side rails at least 3 feet above the roof edge so you have something to hold when stepping on and off.
- Place the feet on stable, level ground.
- Face the ladder, keep at least one hand on it and do not carry anything that could throw off your balance. Raise tools and materials with a rope and bucket instead.
Way 1: Contain the Leak From Inside
This is the first thing every homeowner should do, and during a storm it is the only thing you should do. It needs no ladder and limits the damage while you wait.
You need: buckets or a plastic tote, towels, plastic sheeting or a drop cloth, a screwdriver, a flashlight, and fans or a dehumidifier.
- Cut power near the water. If water is near a light fixture, ceiling fan, recessed light or outlet, switch off that circuit at the breaker panel. If the panel is in a wet area or you would be standing in water, do not touch it. Call your utility or an electrician.
- Catch the drip. Set a bucket under it with a towel in the bottom to stop splashing. Lay plastic sheeting under and around it.
- Drain a bulging ceiling. A bulge means water is pooling on top of the drywall. Put a bucket under the lowest point, stand to the side, and poke a small hole with a screwdriver. A small, controlled hole is far easier to repair than a ceiling that gives way.
- Move belongings. Electronics first, then rugs, furniture and anything with paper or fabric.
- Check the attic, if you can reach it safely. Step only on joists, never on the drywall between them. Set a scrap of plywood across two joists and a tub on top of it under the drip. Pull soaked insulation away so it stops holding water against the ceiling.
- Mark the entry point. In the attic, follow the wet trail uphill to where water first appears on the roof deck. Circle it with a marker and take a photo. This saves your roofer time finding the source.
- Start drying right away. Run fans and a dehumidifier. According to the EPA, mold will not grow in most cases if wet items are dried within 24 to 48 hours.
Way 2: Tarp the Damaged Area
A properly anchored tarp is the most effective stopgap for storm damage, and the riskiest one to do yourself. GAF, the roofing manufacturer, recommends leaving it to professionals, using at least two people if you do it, and never tarping while it is still raining (GAF).
Best for: missing shingles, branch punctures, damage across a large area, and leaks you cannot trace to one spot.
You need: a heavy-duty reinforced tarp, wood furring strips (1x3 or 2x4), 8d galvanized nails or exterior screws, a hammer or drill, a utility knife, and a helper.
- Clear the area. Remove branches, loose shingles and old nails that could puncture the tarp.
- Size it generously. Plan for the tarp to extend about 4 feet beyond the damage on every side (City of Sunrise, FL tarping guide). It must also reach over the ridge onto the far slope. A tarp that stops partway up the roof lets water run in under its top edge.
- Anchor the bottom edge first. Roll about 2 feet of tarp around a furring strip three or four times. Roll it so the tarp comes off the top of the board, not the bottom, so water flows over the roll. Nail it below the damage with galvanized nails about 2 feet apart.
- Pull it taut over the ridge. Wrap the top edge around a second strip on the opposite slope and nail it down. A loose tarp flaps, lifts and tears.
- Secure the sides. Run side strips up and down the slope, not across it, so they do not dam water (GAF). Keep every strip at least 2 feet from the damaged area.
- Never nail the tarp alone. Nails through bare plastic rip out in the first strong gust. Always nail through a wrapped board.
Tile and metal roofs need a different method. Nailing into metal roofing causes permanent damage, and tile is slippery and breaks underfoot. The Sunrise guide uses cords through the tarp’s grommets, staked to the ground, instead. This is a job for a roofer.
Plan for a short life. FEMA designs its Blue Roof sheeting to last 30 days. GAF advises keeping any tarp up no longer than three months and having it checked after the first month. Every nail you drive is a hole the roofer will need to seal, so point them out.
Way 3: Patch With Roof Cement
Roof cement is a thick, black, asphalt-based paste that you trowel into small holes and cracks. It is the only one of the sealing options that can go on in the rain, but only if you buy the right formula.
Check the label before you buy. Standard plastic roof cement needs a clean, dry surface. Wet-surface formulas are tested to ASTM D3409, the standard for adhesion to damp, wet or underwater surfaces. Henry’s 208 Wet Patch, for example, is rated for application from 20°F to 120°F, even in standing water (Henry 208 data sheet).
Best for: small holes, cracks and splits, lifted shingle edges, and gaps where shingles meet flashing.
You need: wet/dry roof cement (a cartridge for small jobs, a can for larger ones), a putty knife or trowel, roof repair fabric, a wire brush, gloves and mineral spirits for cleanup.
- Clean the spot. Brush away loose granules, dirt and old cement. Wire-brush any rust off metal.
- Apply 1/8 to 1/4 inch thick. Work the cement into the hole, then spread it 2 to 4 inches past the edges and feather them thin.
- Reinforce anything bigger than a nail hole. Henry’s instructions call for embedding repair fabric when a hole is wider than 1/4 inch or longer than 2 inches.
- Add a second coat over the fabric.
- For a lifted shingle, spread a little cement under the loose edge and press it flat.
Limits to Know
- It is not recommended over gravel, rubber or PVC sheet roofing, or wood shingles, according to the same data sheet. Check the label for your roof type.
- The solvent fumes are strong. The manufacturer says to close rooftop air intakes until they clear.
- Use it sparingly. Your roofer will have to scrape off excess cement before making a permanent repair.
Way 4: Seal With Flashing Tape
Flashing tape is a peel-and-stick waterproof tape, usually butyl or rubberized asphalt with a foil or UV-stable backing. It is the cleanest, fastest patch on this list, but it only works on a clean, dry surface.
Best for: split seams on metal or low-slope roofs, cracked metal flashing, small punctures, and leaking joints in gutters or roof edging.
You need: roof-rated flashing tape at least 2 inches wider than the crack, acetone or a residue-free cleaner, rags, scissors and a small hand roller.
- Wait for a dry day. EternaBond’s RoofSeal data sheet, for example, requires a clean, dry surface and an air temperature of 40°F to 150°F, with a primer below 40°F (EternaBond RoofSeal data sheet).
- Clean thoroughly. Remove dust, grime and oil with acetone or lacquer thinner and let it dry. Dust and oil are what keep tape from bonding.
- Cut the tape long. It should cover the damage and run well onto sound material on every side. Round the corners so they are less likely to peel.
- Peel and press as you go. Pull the release liner back gradually rather than all at once, so the adhesive stays clean.
- Roll it hard. Use a hand roller or firm hand pressure across the whole piece, especially the edges. The pressure is what activates the bond.
- Lap like shingles. When you use more than one piece, start at the lowest point and work uphill so each upper piece overlaps the one below it.
Do not use silicone anywhere near tape. The same data sheet warns that RoofSeal is not compatible with silicone sealants or lubricants. If someone has already smeared silicone on the spot, the tape will not stick there.
Way 5: Caulk Small Gaps With Roof Sealant
Roof sealant comes in a caulk tube and fills narrow gaps around the things that poke through your roof. Leaks around vents, pipes and chimneys often start at a gap like this.
Best for: gaps around plumbing vent pipes, vent flanges and chimney flashing, exposed nail heads, and small separations where flashing meets shingles. If the rubber collar on a pipe boot has cracked, sealant can bridge it for a while, but the boot itself needs replacing.
Choose polyurethane, not silicone. A polyurethane roof and flashing sealant bonds to asphalt shingles, metal, brick, wood and stucco. Loctite’s PL Roof & Flashing sealant, for example, lists those surfaces (Loctite PL data sheet). Both Loctite and EternaBond warn that their products will not bond with silicone, so a silicone patch today can block a proper repair later.
You need: roof-rated polyurethane sealant, a caulk gun, a utility knife, a wire brush or scraper, rags and mineral spirits for cleanup.
- Pick a dry window. Loctite says application to moist surfaces will hurt adhesion and calls for temperatures between 40°F and 100°F.
- Clean the joint. Scrape out old caulk, loose granules, dirt and oil. Do not caulk over fresh roof cement; the data sheet says surfaces must be free of asphalt and mastic.
- Cut the nozzle at 45 degrees and push a steady bead into the gap, not just over it.
- Tool it smooth within 5 minutes with a dry putty knife so it bonds to both sides.
- Mind the depth. Gaps deeper than 1/2 inch need a foam backer rod first. Very wide or deep gaps are a job for a roofer.
- Give it time. The bead skins within 24 hours, works after about 3 days and fully cures in about a week, so apply it ahead of the next storm, not during it.
If you must seal in damp conditions, use a wet/dry roof cement from Way 3 or a sealant whose label specifically says it is rated for wet surfaces.
Document Everything for Insurance
Temporary repairs are usually part of your claim, not a reason to lose it. Homeowners policies generally require you to take reasonable steps to prevent further damage. North Carolina’s Department of Insurance, for example, says to keep every receipt, photograph the damage before and after emergency repairs, and avoid extensive repairs before the adjuster arrives (NC Department of Insurance). Check your own policy for its exact wording, and see our guide to roof insurance claims in California.
- Photos and video of the ceiling, attic and roof damage before you fix anything
- Photos of each temporary fix once it is done
- Receipts for every tarp, tube, roll of tape and bucket
- A short log: date and time the leak started, the weather, and what you did
- Damaged belongings set aside, not thrown out, until the adjuster sees them
What to Tell Your Roofer
The details you collected will save time on the first visit. Share:
- Where the water appears inside, and the attic photo of where it enters the roof deck
- When it leaks: every rain, only in wind-driven rain, or only in heavy storms
- Every temporary fix you made and the exact product used, especially if anyone used silicone
- Where you drove nails or screws for a tarp
- The roof’s age and any recent rooftop work, such as solar panels, a satellite dish or HVAC equipment
Sources
- FEMA: Frequently Asked Questions about Operation Blue Roof
- CDC/NIOSH: Ladder Safety app fact sheet, Publication 2017-129
- OSHA: 29 CFR 1926.1053, Ladders
- OSHA: Letter of interpretation on low-slope and steep roofs, Sept. 26, 2003
- EPA: Mold Course, Chapter 4
- City of Sunrise, FL: Temporary roof tarping guide
- GAF: What to Know About Tarping a Roof, Feb. 21, 2025
- Henry 208 Wet Patch technical data sheet
- EternaBond RoofSeal technical data sheet
- Loctite PL Roof & Flashing Polyurethane Sealant technical data sheet, rev. Oct. 30, 2024
- North Carolina Department of Insurance: Loss Prevention and Aftermath
Frequently Asked Questions
How do I fix a leaking roof temporarily?
Start inside: catch the water, drain any ceiling bulge and cut power near the leak. Once the roof is dry and calm, match the fix to the damage: a tarp for large or storm damage, roof cement for small holes, flashing tape for seams and cracked flashing, and polyurethane sealant for gaps around vents and pipes.
How do I temporarily fix my roof while it is still raining?
Stay off the roof and work from inside and the attic. Wet roofs are slippery, and tape and most sealants will not bond to a wet surface. Wet/dry roof cement is the only patch rated for wet application, and it is only worth using if you can reach the spot safely from a ladder on a low-slope roof.
How do I temporarily patch a roof?
Clean the area, then use the product made for that damage. Roof cement goes 1/8 to 1/4 inch thick and 2 to 4 inches past the hole, with repair fabric for anything larger than a nail hole. Flashing tape needs a clean, dry surface and firm rolling. Sealant goes into the gap, not just over it.
How does temporary roofing work?
It either covers the damage with a new waterproof layer, like a tarp, or seals one specific gap, like cement, tape or sealant. Both work by lapping over the damage from above so water flows across the patch, not under it. None of them repairs wet decking, insulation or underlayment underneath.
How long does a temporary roof repair last?
Plan on weeks, not seasons. FEMA designs its Operation Blue Roof sheeting to last 30 days, and GAF advises keeping a tarp up no longer than three months. Check every patch after each storm.
Can I use silicone caulk on a roof leak?
It is better not to. Loctite and EternaBond both warn that their roof sealant and tape will not bond with silicone, so a silicone patch can make a proper repair harder later. Use a roof-rated polyurethane sealant or wet/dry roof cement instead.
Will homeowners insurance pay for a temporary roof repair?
Often, if the damage itself is covered. Policies generally require you to protect your home from further damage and keep a record of what you spend. Photograph everything before and after, save every receipt, and confirm the details with your insurer.
Have the Leak Fixed for Good
A temporary fix buys you time; it does not tell you why the roof failed. A roofer traces where the water actually gets in, checks the decking underneath and makes a repair built to last. If water is coming in now, see emergency roof repair; otherwise book a free roof evaluation and you get photos of what we find and a written scope and price before any work. For more stopgaps, see temporary roof repair options.
